解析light pre-pass渲染器在iPhone上的使用
作者:Simon Yeung
大约1个月前,我买了iPhone 4S,用这个新设备编写了些许代码。尽管这个设备不支持多渲染目标(游戏邦注:简称“MRT”),但是它支持对浮点渲染目标的渲染支持(仅限iPhone 4S和iPad2)。
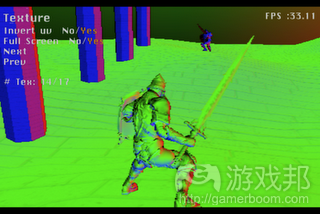
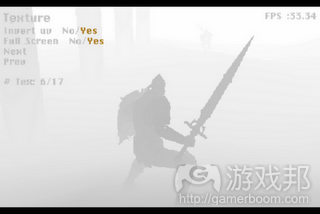
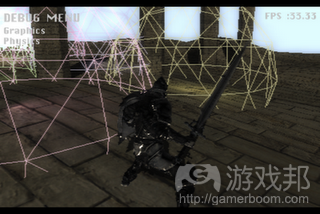
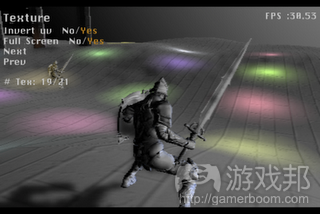
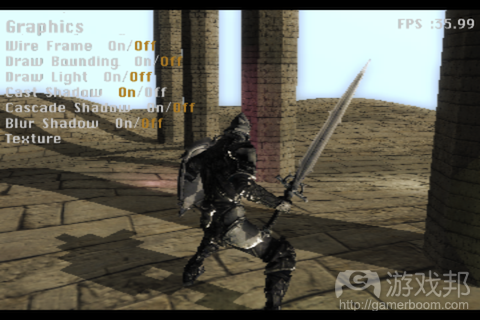
所以,我用light pre-pass渲染器来进行测试:
在测试中,通过3个后期处理过滤器(游戏邦注:flimic tone mapping、bloom和照片过滤器)实现HDR光照(游戏邦注:gamma的值为2.0而不是2.2)。在测试场景中,3个方向光照和30点光照配合2个皮肤模型使用,同时运行bullet引擎,帧率约为28-32fps。
G-buffer布局
针对G-buffer,我尝试了两种不同的布局。我最初尝试使用1个带有R渠道的16位渲染目标来存储深度值,使用编码方法来用G和B渠道存储视图空间矢量,A渠道存储用于特别光照计算的光泽度。
但是我随后发现,这个设备支持openGL扩展GL_OES_depth_texture,这可以将渲染深度缓冲。所以,我第二次尝试将使用G-buffer布局转变为使用RGB渠道,跳过编码方法来存储视觉空间常量,A渠道存储光泽度,同时深度可以直接取自深度纹理。
转为此种布局使得帧率大幅提升,因为常量值不需要从纹理中编码解码。但是,将16位渲染目标转为8位来存储常量和光泽度,并没有使运行表现获得提升,可能是由于受到带宽的限制。
模板优化
第2次优化的目标是延期光照,通过绘制光照凸多边形,使用模板技巧来剔除那些无需用来表现光照的像素。
但是,完成模板技巧执行后,帧率下降了。这是因为在填充模板缓冲时,我使用与光照表现相同的着色器。即便在填充模板缓冲时颜色编写被停用,但GPU仍然有很大的负担。所以,我们需要在模板中使用新的着色器,这有助于改良应用的表现。
而且,在绘制点光照阴影时,我发现自己使用的衰减因素有一大片没有获得光照,所以我转向使用更加简单的线性分散模型。
结合后期处理通道
结合全屏渲染通道有助于提升应用的表现。在测试场景中,原本结果是与风格地图场景渲染目标融合,随后是照片过滤器和后台缓冲渲染。我通过计算风格地图场景与照片过滤器着色器的融入来结合这些通道,使应用运行得比之前更快了。
分辨率
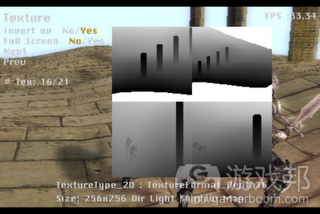
程序在低分辨率的环境下运行,后台缓冲为480 X 320像素。而且,G-buffer和后期处理纹理进一步扩展至360 X 300像素。这可以减少像素着色器需要映射的碎片数量。
阴影
在场景中,级联阴影贴图配合4级联使用(游戏邦注:分辨率=256X256)。我尝试使用GL_EXT_shadow_samplers扩展,希望这对帧率有所帮助。但是结果很令我失望,扩展的速度同在着色器中对比的表现相同。
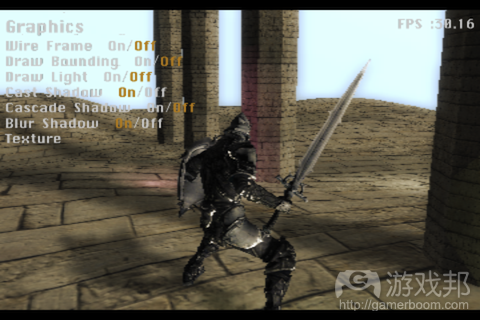
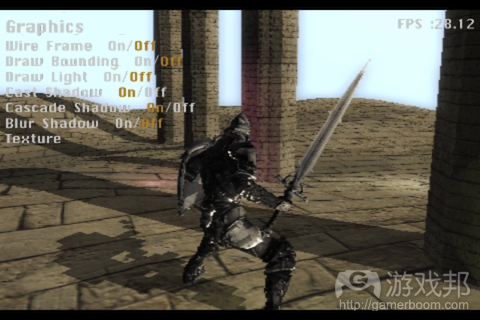
计算阴影和将其模糊花了约8毫秒。如果使用未模糊化的基本阴影贴图,可能会使运行表现略有提升,提升程度取决于屏幕上的点光照数量。当然,模糊化会加速阴影计算。
结论
在这篇文章中,我描述了用来让light pre-pass渲染器在iPhone上运行以实现带有30个动态光照和30fps帧率的方法。但是,为了维持动态光照、HDR光照和后处理过滤器,必须牺牲高分辨率。
而且,测试中没有进行抗齿锯措施,因为帧率不够高。如果使用基本阴影贴图而不用级联,或许可以实现MSAA。(本文为游戏邦/gamerboom.com编译,拒绝任何不保留版权的转载,如需转载请联系:游戏邦)
In-Depth: Light pre-pass renderer on iPhone
Simon Yeung
Introduction
About a month ago, I bought an iPhone 4S, so I wrote some code on my new toy. Although this device does not support multiple render target (MRT), it does support rendering to a floating point render target (only available on iPhone 4S and iPad2).
So, I tested it with a light pre-pass renderer:
In the test, HDR lighting is done (gamma= 2.0 instead of 2.2, without adaptation) with three post processing filters (flimic tone mapping, bloom, and photo filter). In the test scene, three directional lights (one of them cast shadow with four cascade) and 30 point lights are used with two skinned models, running bullet physics at the same time, which can have around 28~32fps.
G-buffer layout
I have tried two different layout for the G-buffer. My first attempt is to use one 16-bit render target with the R channel storing the depth value, the G and B channels storing the view space normal using the encoding method from “A bit more deferred-CryEngine 3″, and the A channel storing the glossiness for specular lighting calculation.
But later I discovered that this device support the openGL extension GL_OES_depth_texture, which can render the depth buffer into a texture. So my second attempt is to switch the G-buffer layout to use the RGB channels to store the view space normal without encoding, and the A channel storing the glossiness while the depth can be sampled directly from the depth texture.
Switching to this layout gives a boost in the frame rate as the normal value does not need to encode/decode from the texture. However, making the 16-bit render target to 8-bit to store normal and glossiness does not give any performance improvement, probably because the test scene is not bound by band width.
Stencil optimization
The second optimization is to optimize the deferred lights, using the stencil trick by drawing a convex light polygon to cull those pixels that do not need to perform lighting.
However, after finishing implementing the stencil trick, the frame rate drops… This is because when filling the stencil buffer, I used the shader that is the same as the one used for performing lighting. Even if the color write is disabled during filling the stencil buffer, the GPU is still doing redundant work. So a simple shader is used in the stencil pass instead, which improves the performance.
Also, drawing out the shape of the point lights made me discover that the attenuation factor I used (i.e. 1/(1+k.d+k.d^2) ) has a large area that does not get lit, so I switched to a more simple linear falloff model (e.g. 1- lightDistance/lightRange, can give an exponent to control the falloff) to give a tighter bound.
Combining post-processing passes
Combining the full screen render passes can help performance. In the test scene, originally the bloom result is additively blend with the tone-mapped scene render target, followed by a photo filter and render to the back buffer. I combined these passes by calculating the additive blend with tone-mapped scene inside the photo filter shader, which is faster than before.
Resolution
The program is run at a low resolution with back buffer of 480x320pixels. Also, the G-buffer and the post processing textures are further scaled down to 360x300pixels. This can reduce the number of fragments that need to be shaded by the pixel shaders.
Shadow
In the scene, cascaded shadow map is used with four cascades (resolution= 256×256). I have tried using the GL_EXT_shadow_samplers extension, hoping that it can helps the frame rate. But the result is disappointing, as the speed of the extension is the same as performing comparison inside the shader…
It takes around 8ms for calculating shadow and blurring it. If a basic shadow map is used instead (i.e. without cascade) with blurring, it gives a little performance boost depending on how many point lights on screen. Of course, switching off the blur will speed up the shadow calculation a lot.
Conclusion
In this post, I described the methods used to make a light pre-pass renderer to run on the iPhone to achieve 30fps with 30 dynamic lights. However, high resolution is sacrificed in order to keep the dynamic lights, HDR lighting and the post processing filters.
Also, no anti-aliasing is done in the test as the frame rate is not good enough. Maybe MSAA can be done if the basic shadow map is used instead of cascade. But we will leave that for future investigation. (Source: Gamasutra)




 闽公网安备35020302001549号