分享《Trigger Rally》的WebGL地形渲染技巧(3)
作者:Jasmine Kent
这次我们要看看地形高地数据是如何储存和处理的。(请点击此处阅读本文第1、第2部分)
《Trigger Rally》的地形高地数据主要资源,形成山地的整体形状,是瑞士阿尔卑斯山地图的真实卫星数据。
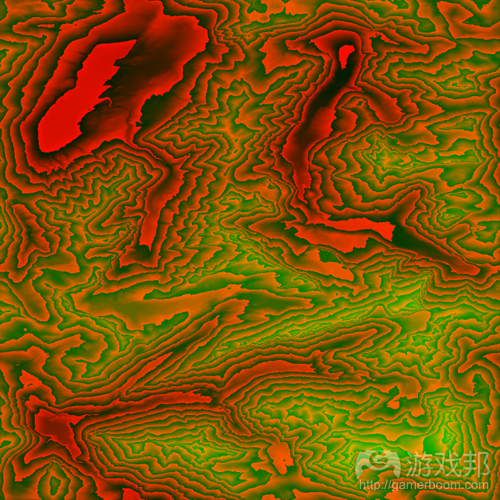
我写了一个工具把这个数据转化为无缝的1024×1024的16位图像。低8位储存在红色通道里,高8位存在绿色通道里。如下图所示:
在载入时,游戏把这个图像转化为单通道的32们浮动纹理,然后把赛车跑道曲线(每一条路道的曲线都是不一样的)绘制到这个图像中。
以角秒的速度取样高地数据,以21米对应阿尔卑斯山纬度30米。我把这些数值除以大约3,以缩小游戏中的高山,所以主高地地图的各个象素其实是7.5米x10.8米。
这样的分辨率对于高山是不错的,对于跑道只是刚好,而对于顺畅的驾驶和近景图像,就不太够了。
平滑
第一件要做的事就是修改高地地图。对于图像,线性过滤通常足够平滑了,但对于我们几何体,我们确实需要更高的连续性。这里有几个不同的办法,但我只采用三次厄密特条样函数插值法。
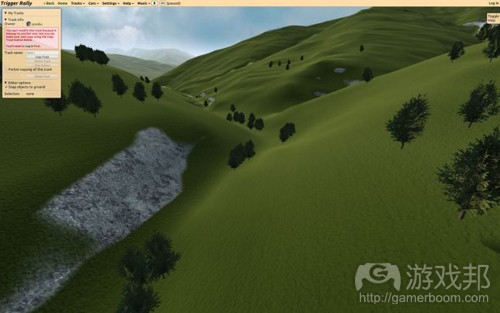
我们得到的结果如下:
添加细节
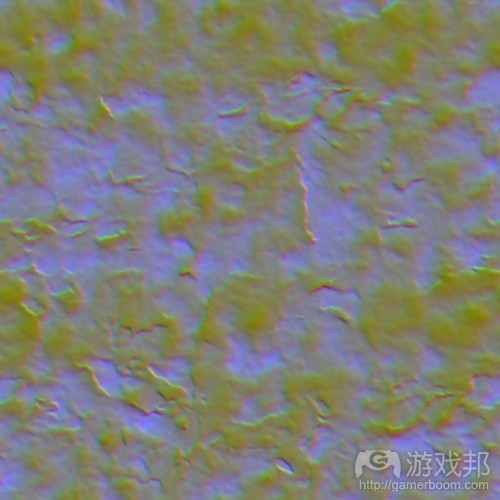
现在我们必须添加更高分辨率的细节,使地形更加有趣和真实。为此,我使用512×512的8位地图,其中高地储存在蓝色通道中,高地导数(游戏邦注:一个变量随某个变量变化时的速度或变化率)存在红色和绿色通道中。
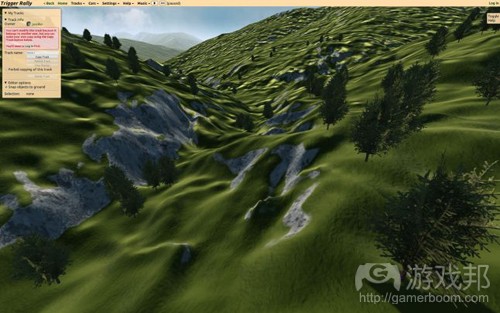
以每个顶点1象素,最高的地形分辨率,取样这个细节地图,然后添加到主要高地上,使地图更加生动。
调整细节地图上的地形渐变和接近跑道曲线的地方,使陡峭的区域更加崎岖,使山谷更加平整。这么做也使跑道更加漂亮和平整,尽管这是在编辑器中可配置的跑道曲线片段。
表面地图
着色器需要更多关于地图的信息,我把它存在“表面”地图中:
R: d(高度)/dx
G: d(高度)/dy
B: 表面类型 (尘土或草地/石块)
A: 细节倍增器 (由渐变和路道邻近决定的)
在下一篇文章中,我将解释表面着色是怎么做的。(本文为游戏邦/gamerboom.com编译,拒绝任何不保留版权的转载,如需转载请联系:游戏邦)
WebGL Terrain Rendering in Trigger Rally – Part 3
by Jasmine Kent
This time we’ll look at how the terrain height data is stored and processed!
Trigger Rally’s primary source of terrain height data, forming the overall shape of the mountains, is real satellite data from the Engelberg region of the Swiss Alps. A big thank you to Jonathan de Ferranti of viewfinderpanoramas.org for permission to use his Digital Elevation Map collection!
I wrote a tool to convert the data into a tileable 1024×1024 16 bit image. The low 8 bits are stored in the red channel and the high 8 bits in the green. Here it is, with the green channel amplified for illustration:
At load time, the game transforms this into a single channel 32 bit float texture. It then draws the racing track spline (which is different for each track) onto this image.
The height data is sampled in arc seconds, which corresponds to about 21m by 30m at Alpine latitudes. I’ve scaled down the mountains in the game by a factor of about 3, so each pixel of the primary height map is 7.5m by 10.8m.
This resolution is fine for the mountains and just about enough for the track, but it’s not enough to be smooth to drive on, nor is it visually interesting in the foreground.
Keeping it smooth
The first thing to do is smoothly interpolate the height map. Linear filtering is usually smooth enough for images, but for geometry we really need higher order continuity. There are various options here, but I went with Catmull-Rom interpolation.
So far we have something like this:
Adding more detail
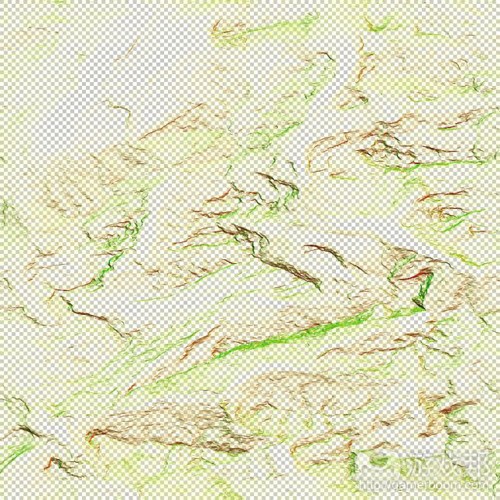
Now we need to add some higher-resolution detail to make the terrain more interesting and plausible. For this I use a 512×512 8 bit map with height in the blue channel, and height derivatives in red and green:
Sampling this detail map at 1 pixel per vertex at the highest terrain resolution and adding it to the primary height makes things look a whole lot better:
The detail map is modulated by the terrain gradient and by proximity to the track spline. This makes steep areas bumpier, and valleys smoother. It also keeps the track (where you have to drive!) nice and smooth, although this is configurable per track spline segment in the editor.
Surface map
The shaders need some extra information about the terrain, which I store in a “surface” map:
R: d(height)/dx
G: d(height)/dy
B: surface type (dirt or grass/rock)
A: detail multiplier (determined by gradient and track proximity)
Tune in next time
In the next post I’ll show you how the surface shading works. If you can’t wait, you can peek at the GLSL shaders in all their messy glory here on GitHub!(source:gamasutra)
上一篇:完成一款游戏需要掌握的15个诀窍




 闽公网安备35020302001549号